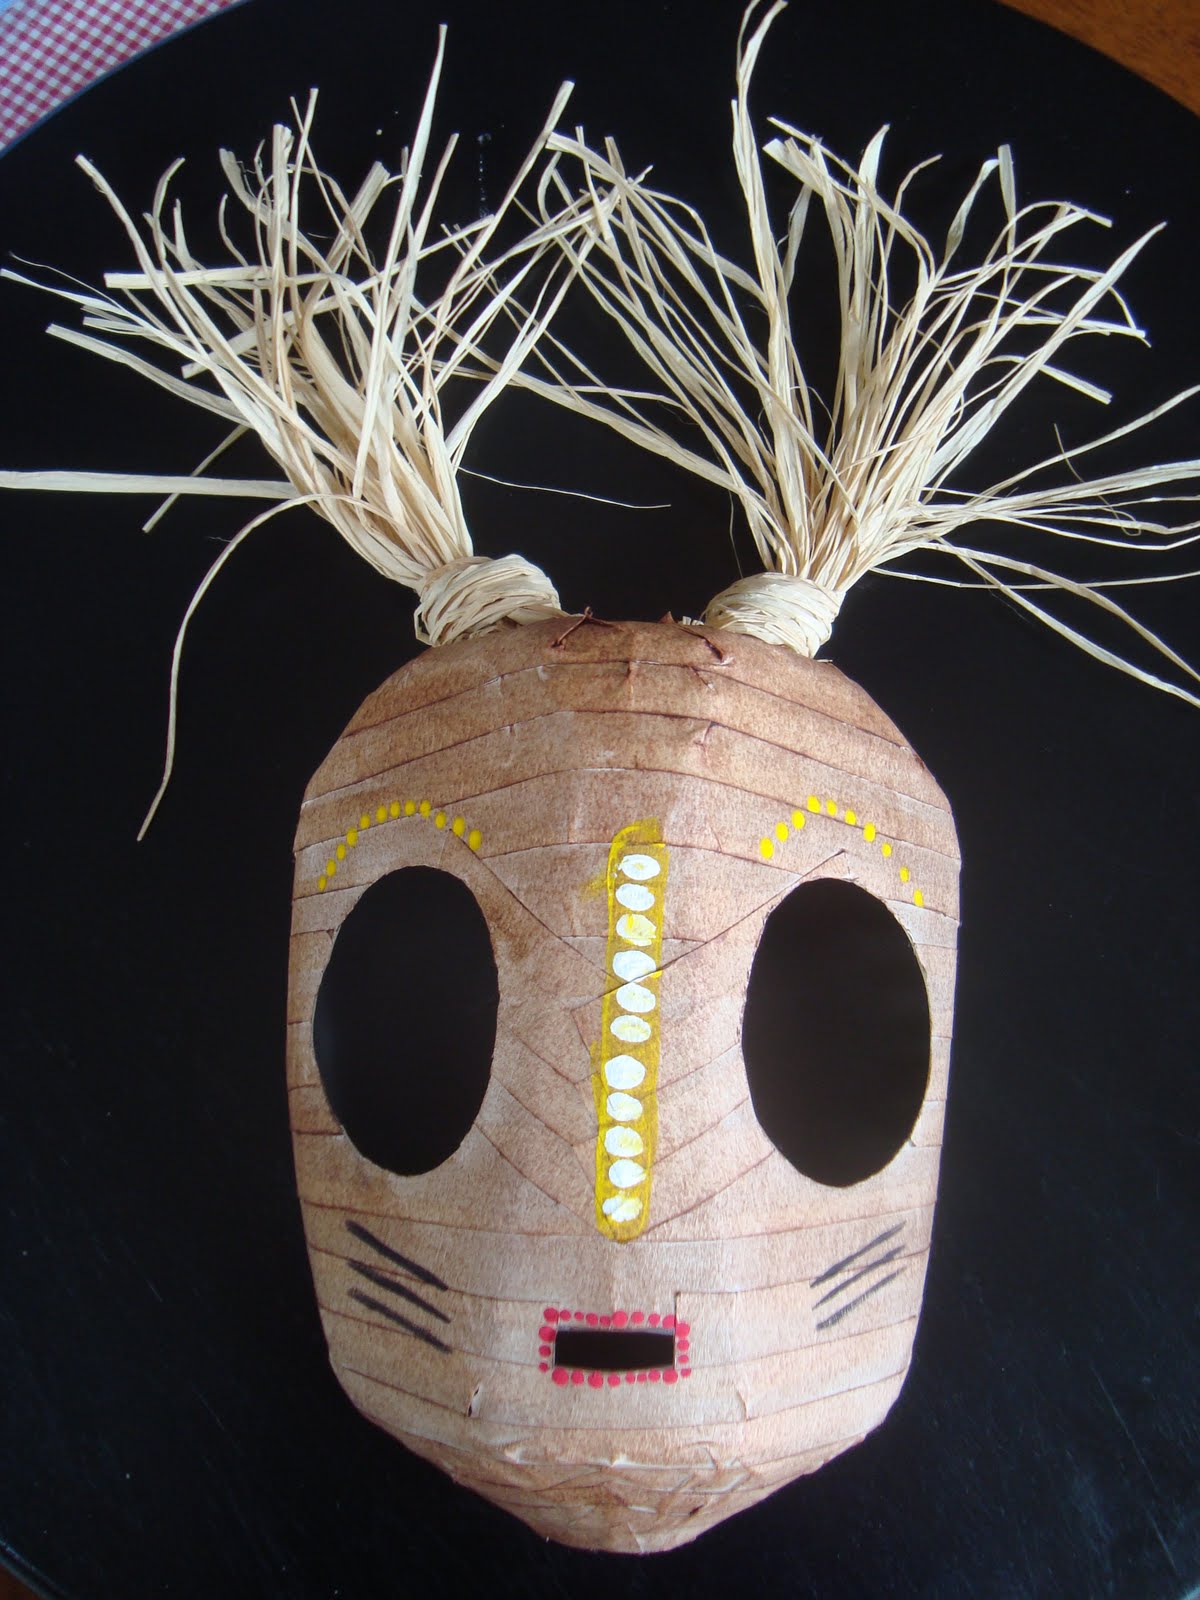
I decided that I wanted to hang up my posters, so I didn't want to have things on the back.However, I have an extra file folder that will be kept with my posters. In that file folder I put all my examples of my work, including some extra pictures/examples of others' work. Also, I listed multiple ways to use the techniques at the bottom of the posters. However, they are in a smaller print so they are hard to read when you zoom in on the picture. I have post them below so that you will know what they say.
Textures:
Use textures to fill in blind-contour drawings such as Picasso face; OR in other drawings with many empty areas such as a house, animal or flower.
Collographs:
Create collographs of bugs, flowers, faces, animals, etc.
Modeling clay:
Modeling clay can also be used to make small people, scenery for claymations, objects for science lessons (plants, animals, planets, etc.) and so much more!
Stain Glass:
Create any type of stain glass art with this technique. This would be great integration. Have the children depict sections of history such as the crossing of the mayflower or Independence Day (the first in 1776, fireworks, etc.). This would also be good for projects like state/country reports (flags).